Welcome to my photography blog, where I'll talk about my hasselblad 500 C/M and post some of the pictures that I've taken with this camera. Although the idea of a photography blog had been kicking around in my brain for a long time, it wasn't until I started taking pictures with this Hasselblad that I felt really inspired to write about something photography-related. To kick things off, it's probably best if I talk a little bit about the camera itself. The hasselblad isn't such a rare bird, but I'm guessing that some of you may not be familiar with it - I certainly wasn't until I began to investigate medium format photography a few months ago.
Hassel-what?
Behold - the hasselblad 500 C/M. Even if you've never heard of this camera, you've probably seen hundreds, maybe thousands of pictures that were made with a hasselblad. Ok, I may be exaggerating a little, but the fact is that hasselblad cameras, or cameras that wish they were hasselblads, have been the mainstay of product, fashion, and portrait photography since the 50's, and even today, a digital hasselblad is the go-to camera if you've got the coin (about $30,000 large, give or take). Think of it this way: what Leica is to 35mm photography, hasselblad is to medium format (BTW - medium format is just a bigger piece of film for capturing more detail... more on that later).
The basic design of the hasselblad 500, also known as the "V" series, is ~50 years old now, with the previous model being the 500C, and the most current model being the 503. The C/M moniker on my camera indicates that, like me, it was born around 1980. Besides the vintage, there isn't much that separates the 500C, the 500C/M, and the 503, except, of course, for the price. The 503, bought new today, will lighten your wallet by ~3k, and then another 5k per lens. Luckily for those of us who still enjoy shooting with film, the shift to digital has significantly devalued the used hasselblad market, and a 500C/M can easily be had, with a lens, for 25-50% of the price of a new 503, and the older lenses, often in mint condition, routinely sell for 15-20% the cost of a new one. That being said, for most of us, even a used hasselblad represents a significant investment, so what exactly do you get for all that $$? Umhhh... not much actually. The 'blad has no auto-focus, no image-stabilization, and no light metering, it's big, it's heavy, and it's awkward unless mounted on a tripod. That being said, it's impeccably built, incredibly well designed, and works with some of the best lenses in the world. IMHO, the hasselblad is all about making that one great photo instead of a dozen good ones.

Every part of the hasselblad is interchangeable. From right to left, my particular hasselblad has the Zeiss 80mm f/2.8 lens, 500C/M body w/ film crank wheel, split-prism viewfinder (that's the big black lump on top of the camera), and finally, on the back, is a hasselblad A24 film magazine (takes 220 film, more on that later). The lenses, the crank, the viewfinder, the focusing screens, and the film magazine can all be swapped based on personal preference or to better suit a particular type of photography. An equally attractive aspect to all of this modularity, especially for those of us buying vintage hasselblads, is that if one part should break, it can be replaced piece-meal instead of buying a whole new camera.

This shot shows the film magazine more clearly. Several of these can be preloaded to avoid the pain of changing film on location (loading the film isn't really all that bad, but it wouldn't be much fun trying to load film when, for instance, it's 30 degrees outside and you're wearing gloves). There's a special piece called the dark slide (not shown in the photo) that keeps the film from being exposed when the magazine isn't mounted to the camera. This means that one type of film can be swapped for another in mid-roll. The system is so well designed that the film magazine won't release from the camera body unless the dark slide is in place.
The outer shell of the film magazine, which is what you see here, and the insert, which holds the film, are actually manufactured together for the best possible fit. The internet tells me that mismatched pairs are a lot cheaper and supposedly perform just as well (my own experience with the camera isn't enough to say one way or the other).
On the bottom of the magazine are two small circular windows. The first of these is the frame-counter. For the A24 magazine, the counter goes to 24 exposures. The smaller window, with a matching window on the camera body, indicates if the film back is ready for the next shot. Red, as shown above, means that the film has already been exposed. As the crank wheel is turned, the film is advanced and the window becomes black. Winding also charges the shutter, at which point the corresponding window on the camera body also turns black, and the camera is ready to shoot.

Another shot of the film magazine. The square plastic tab with the hole in the middle is to remind you which film you have loaded in that magazine. You're meant to cut out a piece of the box that your film came in, and place it underneath the tab. There's also a rotating wheel for noting the ISO value of the film (although it's tough to see in this photo). This way, even if you forget what film you're shooting, you can still expose it properly.
In my case, I'm unlikely to forget which film I'm shooting. I have two A24 backs, and the only film currently available for the A24 back (220 size film) is kodak portra. Once my current stock of portra runs out, that may be it for my A24 backs - it appears that 220 film is no longer being made. Luckily, used A12 backs are easy to find, relatively inexpensive, and take 120 film (which is still produced by most of the big film companies like Fuji, Kodak, and Ilford). That's great, but I do worry how much longer it'll be before 120 is also gone, and then film altogether.

The business end of the 'blad - Zeiss 80mm f/2.8. This lens has a fixed focal length, although I'm pretty sure that Zeiss does make a zoom lens for the hasselblad V series as well. Fixed focal length lenses are also referred to as prime lenses. They generally have better optical performance, and are smaller and lighter than zoom lenses. This particular lens isn't all that light because it's all metal and glass, but that's how things were built back in the day, and the optics are excellent.

Another shot of the lens, this time without the lens shade attached. The scalloped ring near the body is the focusing ring. The other scalloped ring, closer to the glass of the lens, is for controlling shutter speed and aperture. The hasselblad is basically a big SLR, but unlike 35mm or digital SLR's, it doesn't have a focal-plane shutter because those don't work very well with medium format. A focal-plane shutter big enough for MF would shake the camera violently enough to give blurry exposures for anything slower than ~1/250. The Pentax 67 has this problem. To avoid this, most MF cameras, including the hasselblad, have leaf shutters built into the lens. Leaf shutters can be smaller than focal plane shutters, and they also open and close in a symmetrical fashion, so the action of the shutter doesn't shake the camera much at all (scroll down to see a photo of the leaf shutter in the 500 C/M).

It's typical to see dust inside of old lenses. You can pay to have them cleaned out, but there isn't much reason to - the dust is so far from the focal plane of the image that it rarely, if ever, affects the image quality. Fungus, on the other hand, will ruin the lens, and thankfully, this lens doesn't have any fungus. The other thing to look for in an old lens is cracked or peeling lens coatings. These are anti-reflective coatings which reduce glare from bright sources of light, but over time they can delaminate from the glass. If I'd seen anything like that, I wouldn't have bought the camera. Of course, scratches are also possible, but surprisingly, they don't degrade image quality very much either, for the same reason that dust isn't an issue.

This is the lens from the other side. Just behind the scalloped ring nearest the glass is a set of numbers which correspond to exposure values. This is one of the niftier features of the hasselblad. External light meters often give the recommended exposure in EV's. Once the EV value is set on the lens (the arrow points to the EV setting), the aperture and shutter speed rings are coupled, so that turning the ring will change the aperture and shutter speed, but the overall exposure won't change. Thanks to this, a scene can be shot at several f-stops (to alter depth of field) without having to do any mental arithmetic.

View of the film magazine. After loading film, the crank is used to advanced the film to frame 1 - just crank away, it automatically stops at the first frame. From there on out, the body and film back are coupled so that each time the shutter is cocked, the film is advanced by one frame. With some other medium format cameras, the shutter and the film magazine have to be advanced separately. That's not such a big deal, but it's more stuff to think about instead of taking pictures.

View of the camera with the film back removed. The shutter responsible for timing the exposures is in the lens, but these curtains keep the film from being exposed while the lens is open for composition and focusing. Basically, the hasselblad is a two-shutter camera, with a leaf shutter in the lens and these curtains acting as a focal-plane shutter. One quirk about the hasselblad is that you have to hold the shutter release button down during the whole exposure. If the shutter button is released, these curtains will close, regardless of whether the leaf shutter in the lens is still open, and the exposure will be cut short.
When image quality (i.e sharpness) is critical, the hasselblad has a lock-up feature that will raise the mirror and these curtains prior to the exposure. This way, only the leaf shutter is moving during the exposure, and that imparts almost no shake at all. The only caveat with this is that once the mirror is locked up, there's way to see through the lens, so to ensure that your composition doesn't change, you've got to have the camera mounted on a tripod. Every SLR has this lock-up feature, but it comes in handy much more often on medium format because the mirror is so much bigger (4x the size).
Also seen running around the outside of the body is a raised section - the film back has a corresponding depression into which this raised portion fits in a tongue and groove fashion. This keeps stray light from entering the gap between the camera body and the film magazine, and because it's made of metal, it never wears out like the rubber and felt light seals used with other cameras.

This is the view inside the body of the camera with the mirror lock-up engaged. What you see is the back element of the lens, and beyond that, the leaf shutter inside of the lens. I count five aperture blades. If you're looking for a used hasselblad, you'll want to watch these blades open and close when the shutter button is pressed (and held, to keep the back curtains from closing). The blades should stay open for the same amount of time that is set on the lens's exposure dial. For longer exposures (1/2 sec and 1 sec), the leaf shutter will make a buzzing sound as it's being held open. That's normal and indicates a healthy lens.

This is the camera body with the film back and the viewfinder removed. The rear curtains and the focusing screen are visible. The two half-circles in the middle of the focusing screen allow for accurate manual focusing. I don't remember my high school physics well enough to figure out how this actually works, but it's based on a diffraction grating - when the two images in the half-circles are offset, the picture will be out of focus, and when the two images are aligned the picture will be in focus. With a little practice, split-prism focusing gives results that are as sharp, and sometimes sharper, than autofocus systems.

In the last picture, the leaf shutter in the lens was closed, so the focusing screen was blank. With the lens open, the image is projected first onto the mirror, which sits inside the body at a 45 degree angle, and then onto the focusing screen. In the simplest version of the hasselblad, focusing is performed by looking at the image on this screen. This is referred to as waist-level focusing, and hasselblad's waist-level viewfinder actually has a small magnifying loupe built-in to make waist-level focusing more accurate. I don't have much experience with waist-level focusing, but I've heard that it can be disconcerting at first because the image that projects onto the ground glass is reversed from left to right.

With the lens removed, the lens mount and the reflex mirror are visible. You can see the reflection of the split-prism focusing screen in the mirror. All of this metal and glass make the hasselblad a relatively heavy camera, but then again, quality and convenience rarely do go hand-in-hand.
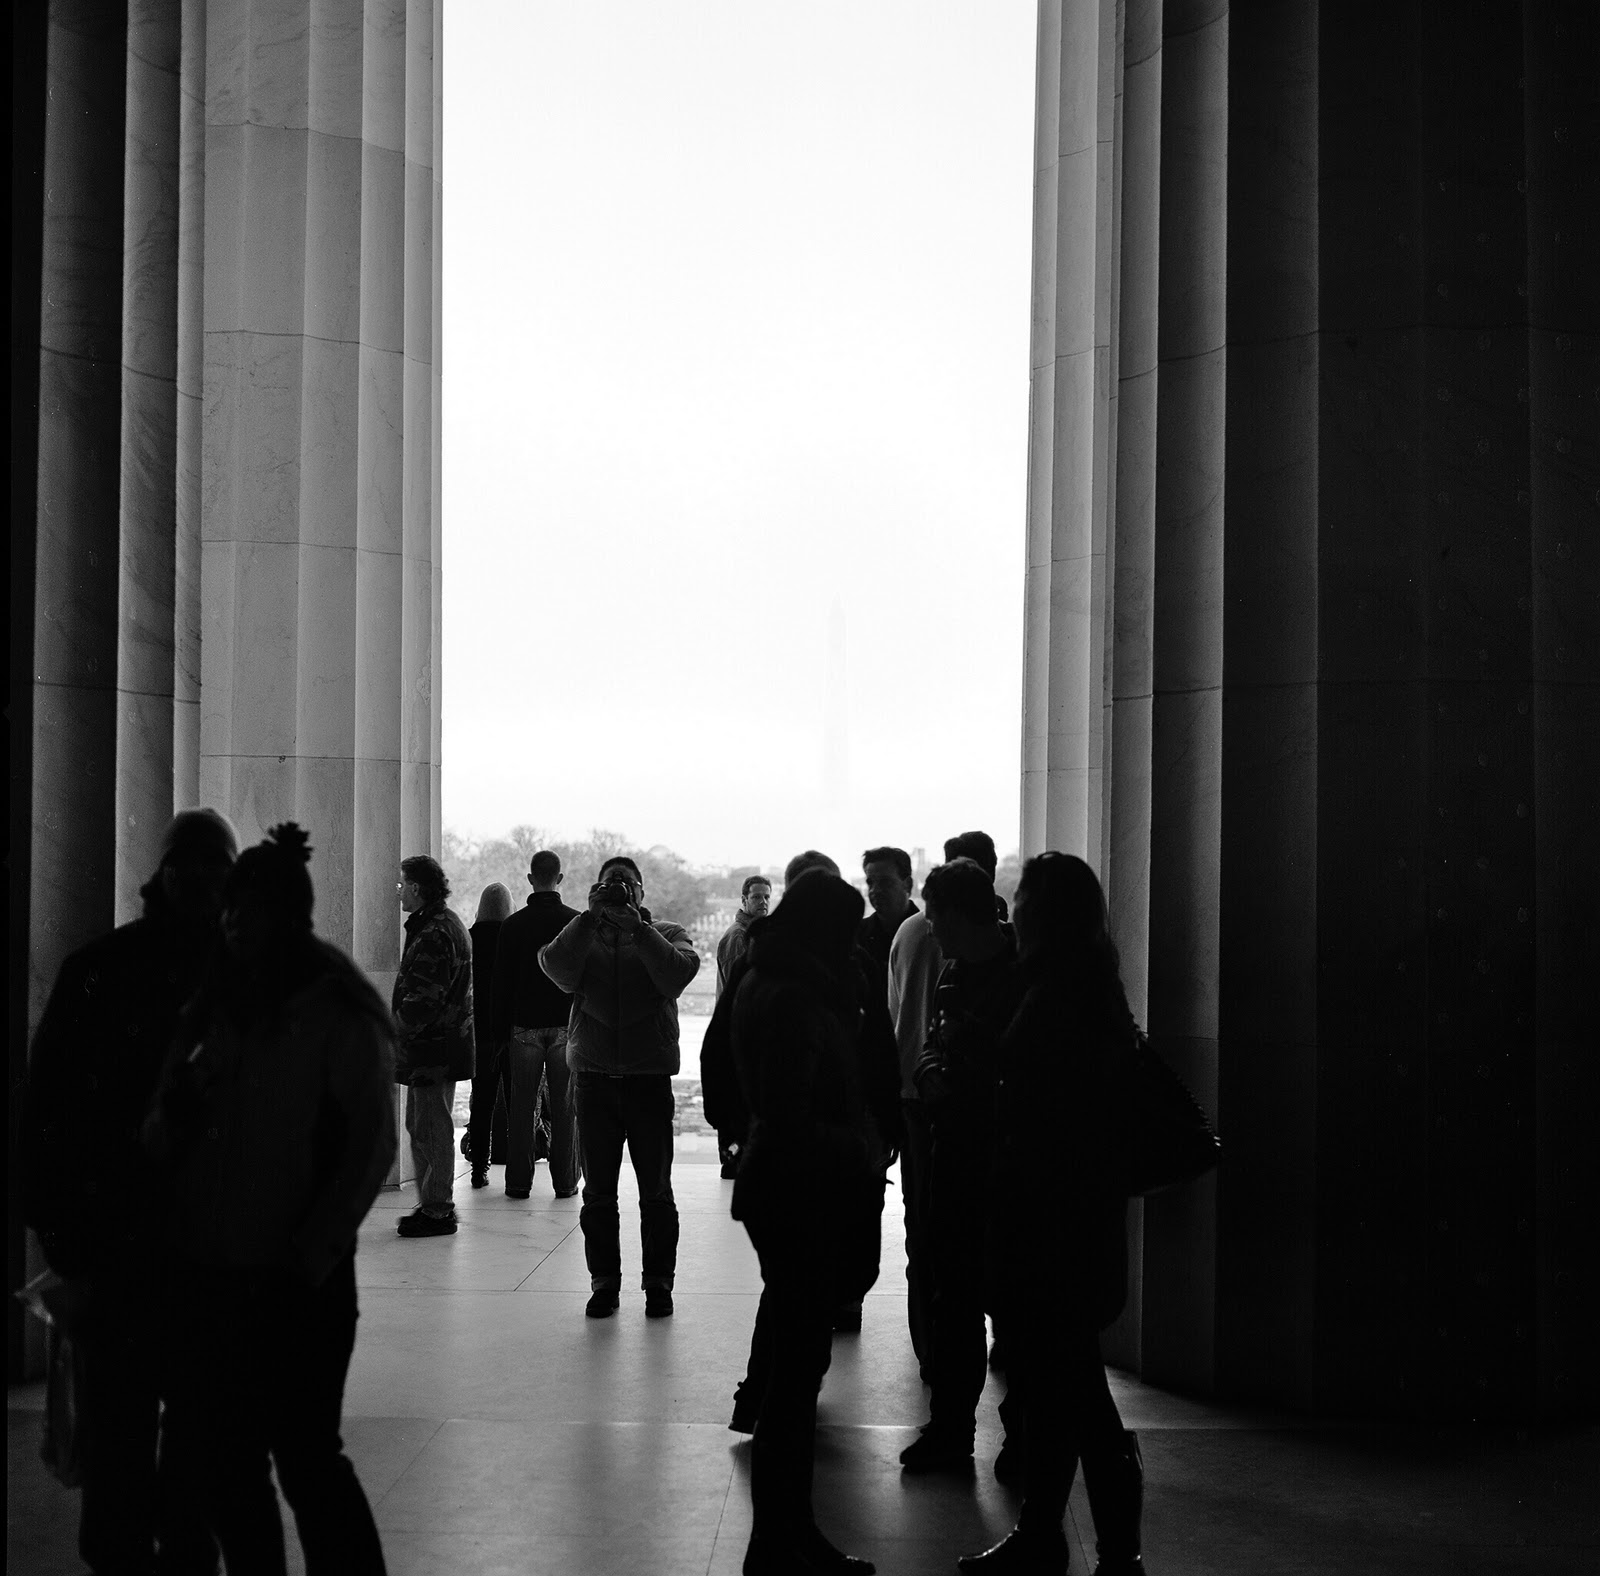
Talk is cheap, what about the pictures?
Test shot taken around my neighborhood using Portra 160 film. To be honest, on your computer screen, photos from a hasselblad may not look all that different than photos from an i-phone (which is actually not a bad camera). When viewing the uncompressed file on a large screen, or better yet, a large print, hasselblad photos are really impressive (if you've ever been to one of Peter Lik's galleries, then you know what I'm talking about). That's not to say that digital cameras aren't capable of equal image quality. Digital can be just as sharp, and have just as much resolution as the hasselblad, and probably for less money too. The important thing is that digital can never look like film, and vice versa. Comparing them is silly, but let's do it anyway...

This is the RAW, unedited digital shot (Nikon D90, ISO 100). So how does it stack up to the hasselblad photo on Kodak Portra? Obviously, the crop between these two images is very different. The hasselblad shoots a square frame, while just about every SLR shoots a 3:2 aspect ratio. IMO, the 3:2 ratio is almost always too long or too wide, but personal preferences vary (I personally like 4:5 or square for most shots). Square, of course, makes the best use of the lens's circular image projection, so for image quality, it's the superior crop.
Something else that's pretty obvious is that the unedited shot on Portra has much nicer color rendition and warmth. A little post-processing would help the digital pic, but so far as I'm concerned, it's always better to have image quality at the time of image capture than to try and add it later in photoshop.
You'll also notice that the background is pushed much further out of focus in the hasselblad photo. This is because the hasselblad uses an 80mm lens to achieve roughly the same field of view as a 35mm lens on my dSLR. The depth of field decreases as the focal length increases (both pictures were shot at the same f-stop). Again, the digital image could be made to look more like the hasselblad image by either using a wider aperture, or by using an 80mm lens and stepping back. There would still be some subtle differences in the way that the two cameras rendered the in-focus and out-of-focus bits, but overall, the depth of field would be the same.
So finally, what about sharpness and resolution? This one surprised me. The hasselblad photo clearly has more detail than my 12 MP Nikon, but not as much as I expected. If I were shooting a coarser-grained film than portra, the two photos might be neck-and-neck. Of course, some of that also has to do with the quality of the scan. This is a medium quality scan of the hasselblad negative. If one were to make a high-quality scan of the hasselblad negative, or better yet, to print it directly in a darkroom, I suspect that the Hasselblad photo would have quite a bit more detail than the 12MP digital pic.
Anyhow, take what you will from that comparison. I like shooting film because it looks like film, because I enjoy the experience of shooting with film, and because I don't enjoy spending hours post-processing photos on my computer (I'd rather write this blog).
My aversion to photoshop notwithstanding, I will spend a little bit of time post-processing the hasselblad shots that I post here. A bit of tasteful post-processing is often a good thing...
This is the same shot as above, cropped a little and with some saturation added in post-production. I don't have much experience with Kodak Portra, but it seems like a very nice jack-of-all-trades. Left alone, portra gives a fairly realistic rendition of color and contrast, maybe even muted, but adding just a bit of color saturation really makes the image pop.
Shoot this film in good light though, and very little, if any, post-processing will be needed.
This was shot with the lens wide-open at f/2.8, and it hasn't been post-processed at all. I think the colors are awesome. It's also interesting that the out-of-focus parts, called bokeh, are a bit swirly. That's not unusual to see with fast lenses (f/1.4 or faster), but I'm surprised to see it with a hasselblad, and at f/2.8 too. Some would say it's distracting while others would say it adds character. I'm inclined to like it as it's one more thing that makes the hasselblad somewhat unique.
So up above I compared film to digital and vice versa, and in terms of objective criteria, neither one was all that much better than the other. There is, however, one area of photography where film is undoubtedly the better choice - black and white. Typically, the best black and whites are made using classic films like kodak triX, fuji neopan, and ilford HP4 (to name just a few). These are all silver halide films, and even though they're negative films, their chemistry is very different than the chemistry of color negative films. With that in mind, I wanted to see if Kodak Portra could make a convincing black and white image. Here's a few shots from my first test roll that were converted to black and white in post-production... they may not be triX, but I think they look pretty darn good.
Ok, that's it for my test roll. I've got some more pictures coming as soon as I get a chance to upload them... from here on out it'll be more pictures and alot less talk, so stay tuned...
Hasselblad links...
Karen Nakamura, who runs photoethnography.com, has written an excellent summary of the Hasselblad 500, or “V” series (as well as lots of other vintage cameras). There’s a ton of useful information here for anyone who’s thinking of buying a Hassie, or is just interested in knowing more about them.
Patrick Taylor also gives a very nice description of the Hasselblad “V” series as well as some interesting history about the development and early uses of these cameras. This part is especially cool…
“
Launched by Hasselblad in 1957, the new 500C… became the bedrock of a line which became celebrated as the now-famous 'moon camera' used by Neil Armstrong and Buzz Aldrin to record the first images of man on the moon, and perhaps more importantly, of earth from the moon… The thirteen cameras taken are still somewhere on the moon. To save weight, only the detachable film backs were brought back to earth.”
Wikipedia’s article on the Hasselblad company is pretty good too. It goes way beyond the “V” series. Today Hasselblad is one of the biggest, if not the biggest, player in high-end digital cameras. Enough cash will buy a Hasselblad camera capable of a 200 megapixel image!
For anyone thinking of purchasing a 500C, 500C/M, or 503, this youtube video is an invaluable resource that explains how to assemble/dissasemble a Hasselblad “V” series, and some things to look for when buying used.
There are lots of youtube videos showing how to load film into the Hasselblad. 120 or 220 film is used depending on which film magazine you’ve got (A12 gets 120, A24 gets 220). It’s easy to do, but a little different because, unlike 35mm film, medium format film isn’t pre-loaded in a canister - a bit more care is needed to keep the roll unexposed while loading and unloading the film from the magazine.
This next video gives a good intro to shooting with a Hasselblad, although it does perpetuate two common film myths which, in my experience, have not been true:
1) Film has greater dynamic range (i.e more shadow and highlight detail). Maybe this was true 10, or even 5 years ago, but it certainly isn’t true now. Some films do have more range than others, but on the whole, film can capture a dynamic range of ~6 stops of light before some part of the image is under- or over-exposed. Consumer dSLR’s do a little better than this; pro dSLR’s (bigger sensor) do a lot better (~10 stops), and medium format digital backs have nearly twice the range (~12 stops, although MF digital backs have other limitations that I’ll blog about at some point, and a really good one costs more than your car).
2) Film has more resolution than digital. Ummmm… I’ve said it before that film and digital are apples and oranges, but if it really matters, digital wins for pure resolution. The first important thing to realize here is that film can’t be generalized like digital, where more megapixels means more resolution (although even that has its limits, which is something I’ll expand on in my next post). In contrast, resolution on film depends on the type of film used. Positive film will always appear to have better resolution than similar negative film, because with positive film (usually called slide film, or transparency film), the graniest parts of the image are hiding in the shadows, but with negative film, it’s just the opposite. Film speed also matters, resolution goes down as ISO (film speed) goes up. Bottom line (for film and digital): the only important measure of resolution is how big a print can be made and still look good. This, in turn, depends on a number of factors, including the printing techniques, so it’s not simple to say whether film or digital has more resolution. In my own experience, the Hasselblad, loaded with ISO160 color negative film (Kodak Portra) outresolves my Nikon D90 (12 MP), but the D90 outresolves 35mm film, even slide film, by quite a bit.
With those two caveats in mind, this video is full of great information…
That’s all the links for now. Enjoy them, and if you find other good ones, be sure to let me know.